
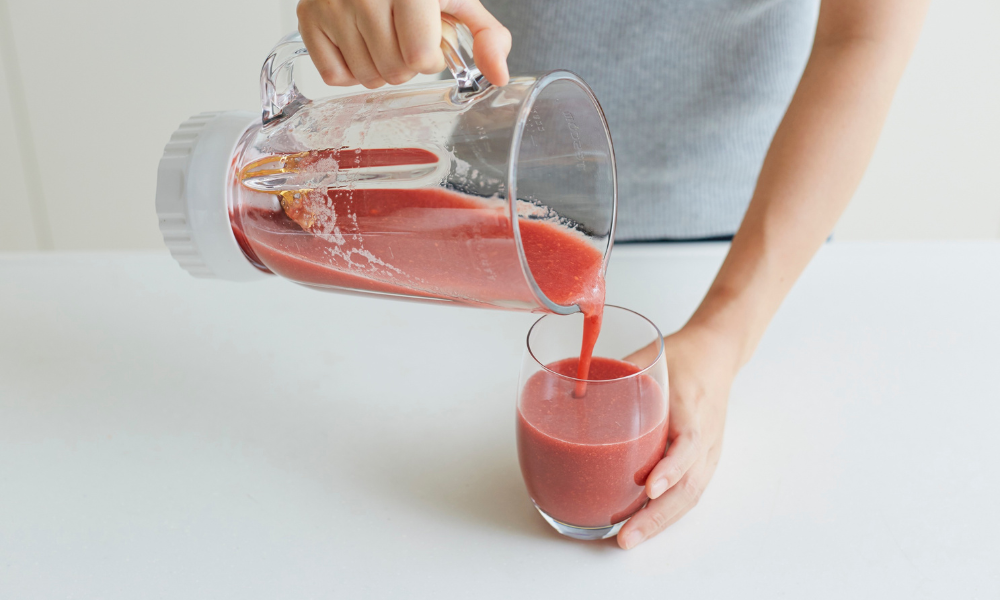
Making a thick, creamy milkshake at home is simple when you use the right ingredients and blending speed. If you are wondering what blender setting for milkshake works best, a medium to medium-high speed is usually a good starting point. The exact setting can vary depending on the blender, but using a controlled speed helps combine the ice cream and milk without making the shake too thin.a
Choose the Right Blender Speed
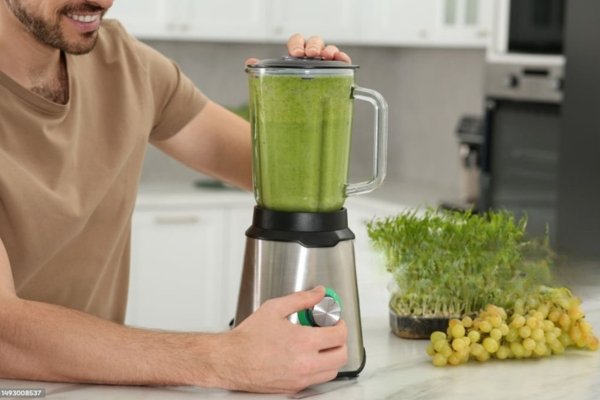
For most milkshakes, start at a low or medium speed and gradually increase it. Starting slowly allows the ingredients to combine without splashing or becoming stuck around the sides.Once the mixture begins moving smoothly, increase the speed slightly. You usually do not need the highest setting for a basic milkshake.
Why Medium Speed Works Well
Medium speed provides enough power to combine ice cream, milk, and flavoring while helping maintain a thick texture. Running the blender at maximum speed for too long can add unnecessary air and may make the milkshake thinner than you want.A steady blend is often better than simply using the fastest setting.
Start With the Liquid
Adding milk first can help the blades move more easily. Pour a small amount into the bottom of the jar before adding the ice cream.This creates space for the ingredients to circulate and can reduce the need to stop the blender and scrape the sides.
Add Ice Cream After the Milk
Once the milk is in the blender, add your ice cream. Vanilla, chocolate, strawberry, or other flavors can work depending on your recipe.Using slightly softened ice cream can make blending easier, but avoid letting it melt completely if you want a thick result.
Add Flavoring Ingredients
You can customize a milkshake with ingredients such as chocolate syrup, fresh fruit, peanut butter, cookies, or caramel.Add these ingredients before blending so they can distribute evenly throughout the mixture. For chunky additions, you may want to use short pulses instead of continuous blending.
How Long Should You Blend?
Milkshakes usually do not require a long blending time. Blend until the ingredients are combined and the texture looks creamy.Stopping as soon as the mixture reaches the desired consistency can help prevent over-blending. The exact time depends on the quantity and ingredients you use.
How to Make a Thicker Milkshake
If your milkshake turns out too thin, the problem may be the ingredient ratio rather than the blender setting. Try adding more ice cream or reducing the amount of milk.You can also use frozen fruit for certain flavors. Add ingredients gradually so you can control the final thickness.
Avoid Using Too Much Milk
Milk helps the blades move, but adding too much can quickly make a milkshake watery. Start with a small amount and add more only if the mixture is too thick to blend.This approach gives you better control over the final texture.
When to Use the Pulse Setting
The pulse function can be useful when your milkshake contains cookies, chocolate pieces, or other solid additions. A few short pulses can break them down without completely turning everything into a smooth liquid.For a basic milkshake, however, a steady medium speed is usually enough.
What If the Blender Gets Stuck?
A thick milkshake can sometimes stop circulating, especially when there is not enough liquid. Turn the blender off before checking the mixture.Use a spatula to move ingredients away from the sides and toward the center. You can also add a small amount of milk before blending again.Never place a spoon or spatula into the blender while the blades are moving.
Common Milkshake Blending Mistakes
One common mistake is starting at maximum speed. This can cause splashing and make it harder to control the texture.Another mistake is adding too much liquid at the beginning. It is easier to thin a thick milkshake gradually than to fix one that has already become too watery.Over-blending can also affect the texture, so stop once everything is properly combined.
Cleaning the Blender After Use
Cleaning the blender soon after making a milkshake prevents dairy and syrup from drying onto the jar.Rinse the container with warm water, then wash the removable parts with dish soap according to the manufacturer’s instructions. Clean the blades carefully and keep the motor base away from water.
Tips for a Creamy Milkshake
When using a hand blender, a few simple tips can help you get a smooth and creamy milkshake. Start with slightly softened ice cream and add a small amount of milk to make blending easier. Cut fruits or other solid ingredients into small pieces before blending. Move the hand blender gently through the mixture instead of keeping it in one spot. Blend until the texture becomes smooth and creamy, but avoid over-blending. For more useful guidance, read How to Use Hand Blender for Chopping to learn how to handle ingredients safely and get better results.
Choosing the Right Blender Setting
The ideal setting depends on your blender and recipe, but medium speed is a reliable starting point for most milkshakes. Begin slowly, increase the speed as the ingredients combine, and stop when the texture becomes smooth.For very thick mixtures, you may need to use short pulses or briefly increase the speed to help everything circulate.
Final Thoughts
Knowing what blender setting for milkshake can help you achieve a smoother and thicker drink without unnecessary blending. In most cases, starting at a low or medium speed and gradually increasing it works well.More importantly, pay attention to the balance of milk and ice cream. Use enough liquid to keep the blades moving, but avoid adding so much that the milkshake becomes thin. With the right ingredients and a controlled blending speed, you can make a creamy milkshake that tastes great at home.
:::